Kitchen Remodeling Tips
Eliminate Wasted Steps
Think about how and where you use kitchen items. Store breakfast foods and bowls near the breakfast table. Keep wraps and plastic containers in one handy spot near a work surface for wrapping leftovers. Locate dishware and flatware near the dishwasher to ease the process of unloading.
Design Wide Walkways
Paths throughout a kitchen should be at least 36 inches wide. Paths within the cooking zone should be 42 inches wide for a one-cook kitchen and 48 inches wide for a two-cook configuration. When planning, adjust kitchen islands and peninsulas accordingly.
Direct Traffic
For kid-friendly kitchen designs, keep the cooktop out of traffic areas so children don’t catch handles and cause spills when running through. Also, make the refrigerator accessible to both passersby and people working in cooking and cleanup areas.
Find the Right Height for the Microwave
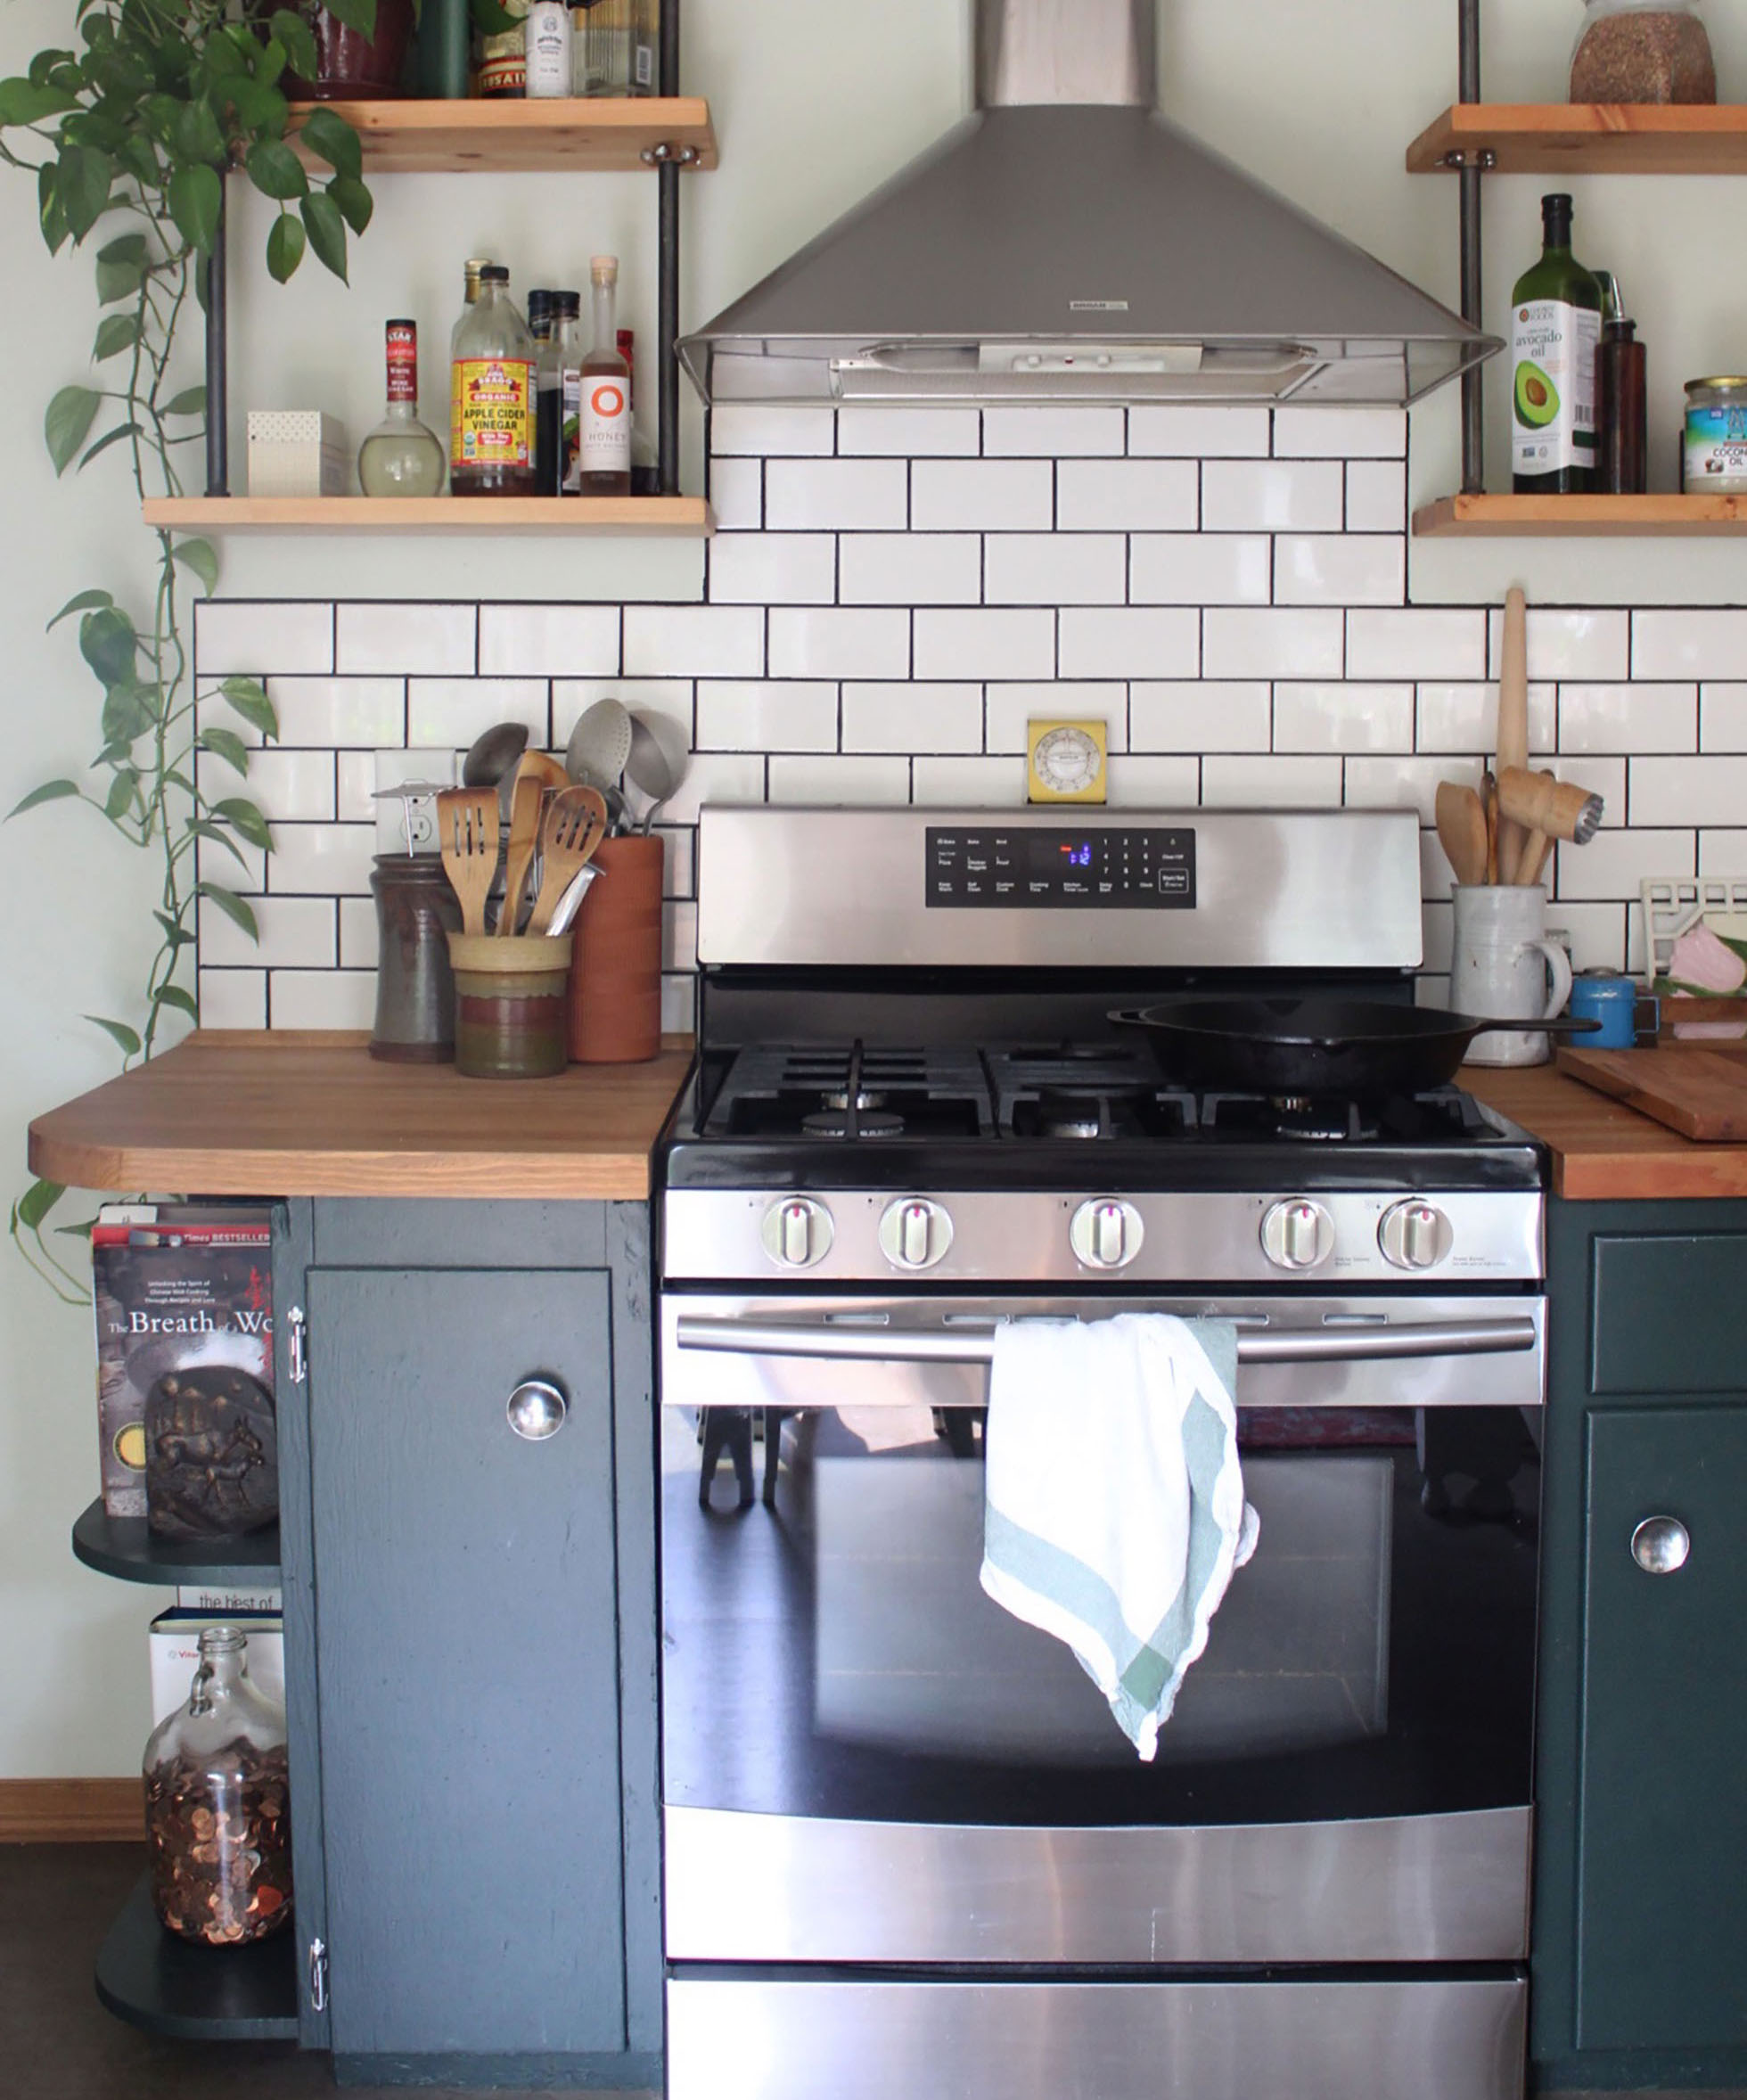
The best height and location for a microwave oven depends on the chef and the degree of kid-friendliness desired in the kitchen. For adults, 15 inches above countertop level is a good microwave height. For kids, a below-countertop setup might be safer and more suitable.
Stay Clear of Corners
To make cabinet and appliance doors fully functional, plan space for the door’s clearance and swing direction in your kitchen design. Keep appliances away from corners, and make sure doors won’t bang into each other if open at the same time.
Tips To Avoid Getting Burned By Kitchen Remodels
Don’t Overspend
Before you start planning, consider the market and decide whether a low-, medium-, or high-end kitchen remodel makes the most sense. Costs can run the gamut from $2,000 for a simple paint-and-hardware upgrade to $50,000 if you’re installing expensive countertops and luxury appliances.
Avoid An Identity Crisis
Don’t try to remodel a 50’s ranch-style kitchen into a contemporary cook space.All homes, however humble, are built in a certain architectural style. Work with it, not against it. You’ll be spending too much money and time on complete overhaul, and you’ll end up with a kitchen that looks like it belongs in someone else’s home.
Don’t Lose Track Of Trends
There’s always something new in the world of kitchen improvement. By staying on top of the latest technological trends and improvements, you may be able to find less expensive, more eco-friendly versions of the hottest looks.
Keep The Plumbing Where It Is
Moving water and gas lines to accommodate the reconfiguration of sinks, ovens, stoves, or dishwashers is extremely costly, especially in older homes. Keep any pipe-connected elements where they are, and keep some extra cash in your pocket.
Watch For The Wrong Floor Plan
If you do have the budget to rearrange appliances, make sure to keep your floor plan in mind. Does it follow the natural triangular traffic pattern between the refrigerator, stove, and oven? Is the dishwasher next to the sink? It should be, because otherwise, you create a mess every time you walk across the room with a dripping dish in your hand. To save money, I once put a dishwasher in the counter opposite the sink – and as a result, I cleaned up drips on the floor for years.
Smart Strategies for Kitchen Remodeling
Plan, Plan, Plan
Planning your kitchen remodel should take more time than the actual construction. If you plan well, the amount of time you’re inconvenienced by construction mayhem will be minimized. Plus, you’re more likely to stay on budget.
Get Real About Appliances
It’s easy to get carried away when planning your new kitchen. A six-burner commercial-grade range and luxury-brand refrigerator may make eye-catching centerpieces, but they may not fit your cooking needs or lifestyle.
Keep the Same Footprint
Nothing will drive up the cost of a remodel faster than changing the location of plumbing pipes and electrical outlets, and knocking down walls. This is usually where unforeseen problems occur.
Don’t Underestimate the Power of Lighting
Lighting can make a world of difference in a kitchen. It can make it look larger and brighter. And it will help you work safely and efficiently. You should have two different types of lighting in your kitchen.
Be Quality-Conscious
Functionality and durability should be top priorities during kitchen remodeling. Resist low-quality bargains, and choose products that combine low maintenance with long warranty periods. Solid-surface countertops, for instance, may cost a little more, but with the proper care, they’ll look great for a long time.
What I Wish I Knew Before My DIY Kitchen Remodel
Pick your appliances before doing anything else.
When we planned our kitchen, we slotted in small-to-average-size appliances, but we didn’t know exactly what we wanted. Big mistake. Three months into this project, I became obsessed with a refrigerator—one that wouldn’t fit into the space. Trying to notch in the right appliances after the fact is like a frustrating game of Tetris.
Save money on your cabinets.
Speaking of layout, we knew we wanted the famous kitchen triangle—easy flow among stove, sink and refrigerator. We also knew that if we brought our measurements to Home Depot, the store would draw out our kitchen for free, dropping in cabinet dimensions, advising us on island height and sending us away with a blueprint. What we didn’t know, though, is that we didn’t have to actually buy our cabinets at Home Depot—easily the most expensive element of the project, though there was a sale running at the time.
Let the pros do the most important things.
When we couldn’t get an appointment with an electrician for a month, Rob thought he’d save time and money by wiring the kitchen himself. But hanging new lights, adding a dishwasher in our island and rewiring old outlets took him weeks, with several inspections in between. A pro would have been faster.
Remember that some elements will require a lot of advance notice.
We heeded Kelly’s advice and had our cabinets professionally installed—mess that up, she warned, and you screw up your countertops and backsplash, too. And although our windows were professionally installed as well, I wish I’d known beforehand that windows take six weeks to fabricate. Looking back, I should have ordered them before we did the demolition; after all, you can’t install insulation or drywall without windows.
Know where to find discounted materials.
Kelly had some great suggestions for finding discounts; for instance, I scored remnant countertop pieces (about half the price of a whole slab) at a stone yard. I scoured Overstock and other tile purveyors for remnants as well (in this case, the last few square feet of a batch) and lucked out with a Cle Tile moving sale that got us a 30 percent markdown on the end of a lot. And I worked Etsy for designer-imitation light fixtures, chairs, pulls and other odds and ends, unearthing unique pieces for about 60 percent of what we would have paid at a retailer like Room & Board.
DIY Money-Saving Kitchen Remodeling Tips
Remove all cabinet doors and drawers to make them easier to install and to avoid damaging them during installation.
– You’ll need a pencil, tape measure and level to mark the exact position of the cabinets on the walls.
– It is easier to install the upper cabinets first, starting in the corner(s).
– To install upper cabinets, determine their location in relation to the base cabinets. Add the height of the base cabinet to the thickness of your countertop (base cabinets are usually 34-1/2 tall and countertops are usually 1-1/2 inches thick.) Then add 18 inches for the space in between the upper and lower cabinets. Your total should be about 54 inches. This is where the bottom of the upper cabinet will sit.
If the floor isn’t level, find the highest point along the wall where the cabinets will be installed. Mark a chalk line across the wall then attach a 2×4 ledger into the wall studs to help support the cabinets while installing.
– Cut holes for the water lines on the back of the cabinet.
If cutouts are needed for electrical boxes, trace the box with lipstick then hold the cabinet in the correct place and press firmly. The lipstick will transfer to the cabinet. Connect the lines, drill a pilot hole and make the cut-out with a jig saw.
– Make sure you fasten the cabinets to wall studs. If a cabinet hits only one stud, use a toggle bolt to help keep it secure.
– When hanging cabinets, check frequently for plumb and levelness. Don’t fully tighten the screws until the cabinets are plumb, flush and level. Use shims to help achieve evenness.
– Use clamps to hold together cabinets while securing to wall.